In this article
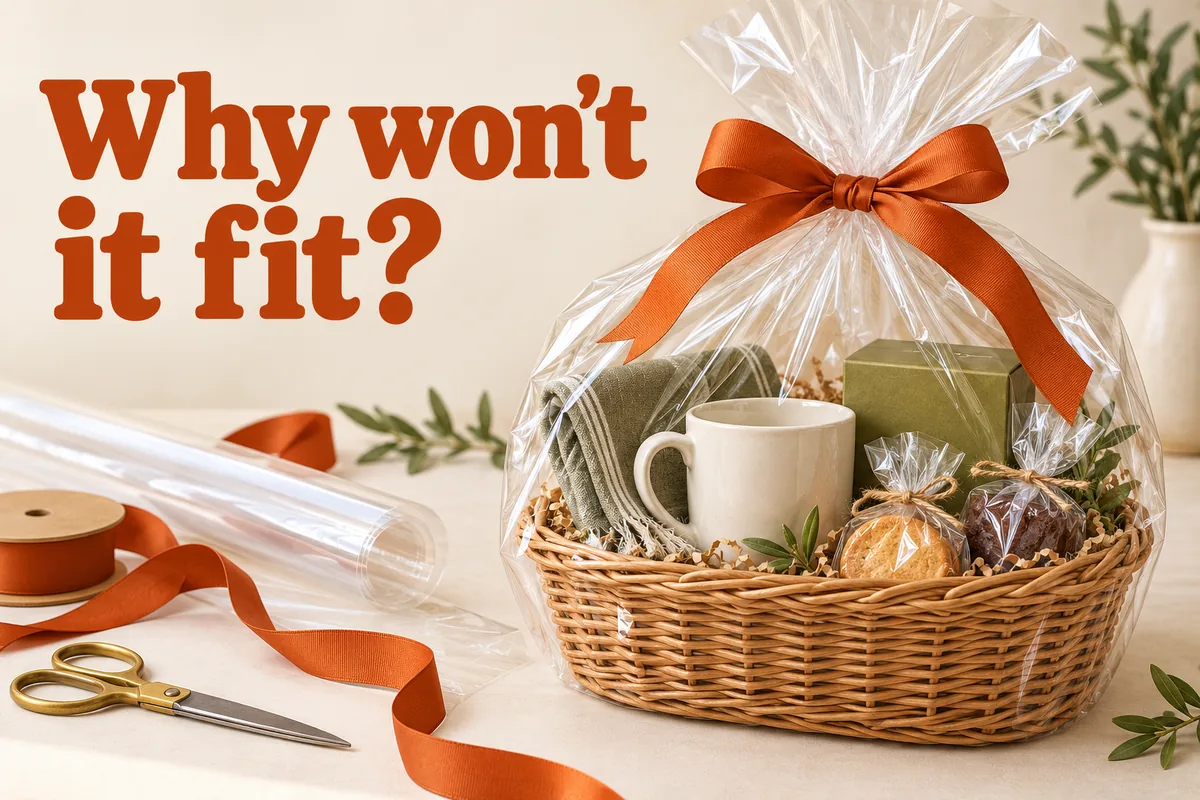
To wrap a gift basket neatly, arrange and steady the contents first, measure the widest part of the filled shape, and leave enough clear film to gather above the tallest item. Secure the gathered top before adding a bow. For bags, check the flat width and any gusset rather than matching the bag width to the basket’s diameter.
A gift basket looks finished when the contents stay upright, the clear wrap has room to gather, and the closure sits above the tallest item. The trouble usually starts earlier: a basket is wider than the bag can open, a bottle shifts while you pull the wrap up, or too much filler hides the things you chose.
Arrange and measure the filled basket before cutting film or opening a whole pack of bags. Then do one complete trial, including carrying it across the room. You can make a tidy presentation with a plain basket, a little support inside, clear wrapping, and one ribbon—without buying a new container for every occasion.
How do you keep a gift basket from looking crowded?
Choose the side that will face the recipient and build the arrangement from there. Put taller pieces toward the back, heavier pieces low in the container, and smaller pieces where their labels or shapes can still be seen. Leave a little space between the most important items instead of trying to fill every opening.
Raise a short item with a firm, covered support beneath it rather than burying the whole basket in loose paper. Fold tissue over the support so the base looks intentional. Gently move the basket on the table: anything that tips now needs repositioning before the outer wrap goes on. The wrapping should finish an already stable arrangement, not hold a leaning tower together.
Keep sharp edges and loose extras under control
Turn box corners inward where possible and cover an exposed rough basket edge with a discreet folded layer of tissue. Put tiny pieces in a pouch or small inner package. Tuck the card somewhere visible or attach it to the closure so it does not disappear beneath the filler.
If the basket has a handle, include it in your measurements. If the contents extend beyond the rim, measure their widest point too. A bag that fits the empty basket can still be too narrow once you add a wide mug handle or a large ribboned box.
Measure the finished shape, not just the basket opening
Bag width is usually measured while the bag is lying flat. That number is not the same as the diameter of the basket it will hold. A flat bag has to go around the object as it opens, and some of its height is used underneath the base and around the filled shape.
For a flat, non-gusseted bag, a practical starting check is to measure around the widest part of the finished arrangement, divide that measurement by two, and choose a bag wider than the result. Allow extra room for slipping it on and gathering the top; do not order the exact minimum. A packaging supplier’s basket-bag sizing guidance uses this circumference check. It is a starting point, not a promise that every bag shape will fit.
For example, if the widest part measures 40 inches around, a 20-inch-wide flat bag is already at the theoretical limit. Choose a wider option, then check the height separately. Use a flexible measuring tape or string to follow the path from under the base up to where you want the closure. Leave enough material beyond that point for a neat gathered top. For a rectangular basket, include the corners rather than measuring only across the front.
For a modest basket, leave room for your ribbon
The 16-by-24-inch bags below are listed as a pack of 40 without bows. That can suit a modest arrangement after you measure it, but the size is not a guarantee for every “medium” basket. Feedback covers different sizes, and one customer reported receiving smaller-than-expected bags without ties. Check the selected dimensions and buy ribbon separately rather than relying on an accessory shown in another version.
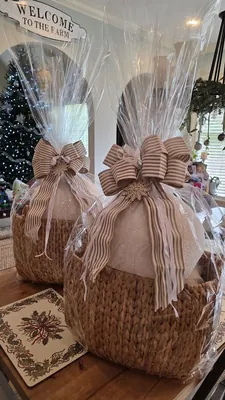
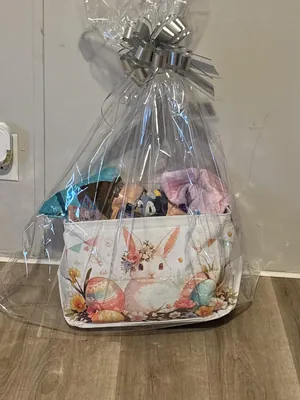
For a broader or taller arrangement, a larger bag gives you more room to lower the basket in without dragging the film over each corner. The 30-by-40-inch bags below come in a listed pack of 10 without ribbon. Customers described using this size for raffle baskets, while other feedback in the same listing belongs to smaller treat bags. A few reported tears or pronounced fold lines, so make the first wrapped sample before committing the whole batch.
Oversized gifts need a separate size check
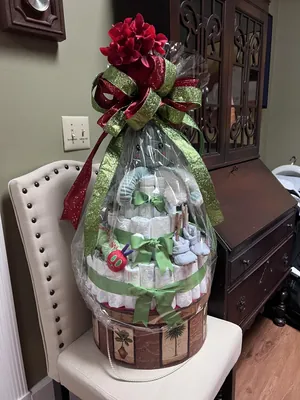
For a very bulky arrangement, such as a blanket-and-pillow basket, start with the filled shape rather than a size label like “jumbo.” This listing offers a 50-by-60-inch OPP bag. Most detailed feedback refers to a smaller 40-by-50-inch version, so those photographs do not establish the fit of the current size. Check the current pack count and included accessories before ordering; neither is clear enough here to assume.
Use a bag for a contained shape and a roll for flexible coverage
With a bag, open the mouth fully, keep the filled basket supported on the table, and ease the film around the sides. If it catches at a corner, stop and adjust rather than pulling harder. Fold extra bottom corners toward the back or underneath, using small pieces of clear tape on the outside where needed. Keep the most visible front panel smooth.
A roll is useful when a tray is shallow, a basket is unusually wide, or you want control over where the seams fall. Cut one trial sheet with generous room to reach the gathering point on every side. Center the basket on it, bring opposite sides up loosely, then work around the corners. If the sheet cannot meet above the contents without strain, use a larger piece rather than forcing a short edge into place.
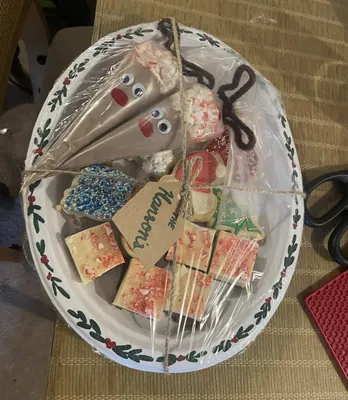
The clear roll below is listed as 31.5 inches wide by 110 feet long, folded to about 16 inches for storage. Unfold it fully before judging the usable width or cutting several sheets. Customers described wrapping cookie trays and baskets; the amount of film used varies with the arrangement, so a specific number of finished baskets is not guaranteed.
Scale down the container before scaling down the bag
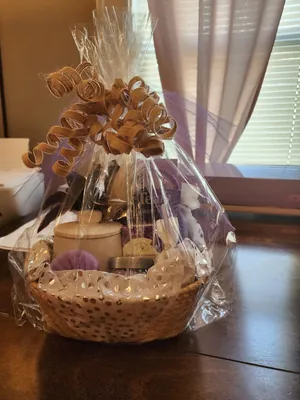
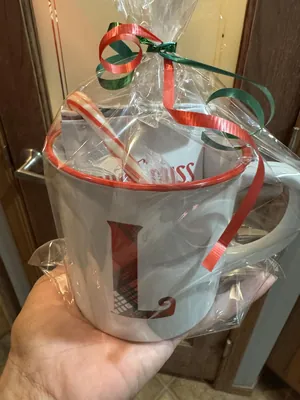
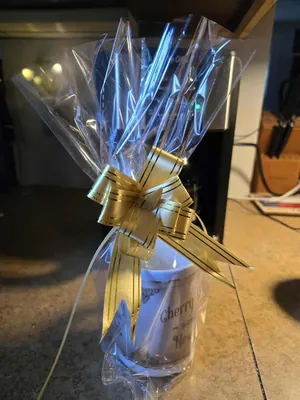
A mug, a few wrapped treats, or a small handmade item may not need a basket at all. Place the pieces on a small support or group them in one appropriately sized bag. The aim is to keep the gift easy to see and handle, not to make a small present look large through layers of empty wrapping.
A mug needs room for its handle and base
A gusset is an extra fold that lets a bag expand. It can give a rounded object room a flat bag lacks, but check how the seller measures it: three dimensions may describe width, depth, and height. This bag supplier’s measuring guide explains those measurements. Do not read a flat width and a gusseted width as interchangeable.
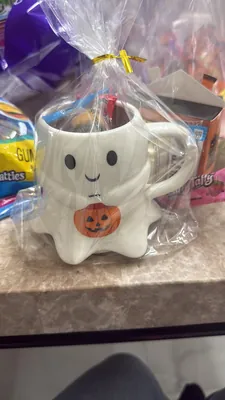
For a mug or small gift grouping, the 8-by-11-inch bags below are listed with an expanding bottom and 50 gold twist ties. Some customers liked using them for mug gifts; one who selected this size found the ties weak, and another reported exposed tie wire. Test the closure and use your own ribbon when needed. Hold the finished gift from underneath, even if the wrapping feels sturdy.
A different flat-bottom option is listed at 7 by 3 by 12 inches, with 100 bags and 100 ties. That shape can suit small, upright favors when the actual base dimensions work. Customer feedback mixes large basket bags and other treat sizes, so only the current size description establishes what this pack contains. Assemble one with your exact contents before planning a display table around it.
Flatter items do not need an expanding base
For paper goods, modest treat bundles, or another fairly flat gift, a plain flat bag may be easier to arrange. The 8-by-12-inch pack below explicitly has no gusset or stand-up bottom and includes 50 bags with 6-inch gold ties. Some customers expected a box bottom and were disappointed. Its listed 2.4-mil thickness combines both sides; each side is described as 1.2 mil, so do not treat it as 2.4 mil per wall.
When you need many simple favors, the 7-by-13-inch bags below are listed as a pack of 200 with red and yellow ties. Feedback includes many other dimensions and a report of missing bags and ties. Count what you need before assembly day, keep a few spares, and check the tie colors against your plan. A clear bag with your own ribbon can work across different occasions.
Gather the top before trying to make the bow
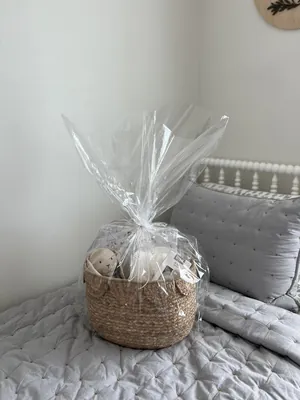
Once the basket is centered, bring the film together above the tallest piece with one hand while gently easing out large folds with the other. Keep enough space that the closure does not press a box lid open or bend a tall item. Secure this gathered neck first, then add the decorative bow. That keeps the bow from having to do all the structural work.
Trim an excessively tall top only after the closure is secure. Make a little cut first and look at the whole gift again; you can always remove more. A short, even fan of clear film is often easier to carry than a tall spray that folds over the ribbon. Keep the gift tag readable at the front.
Pull bows have inner ribbons that do the gathering
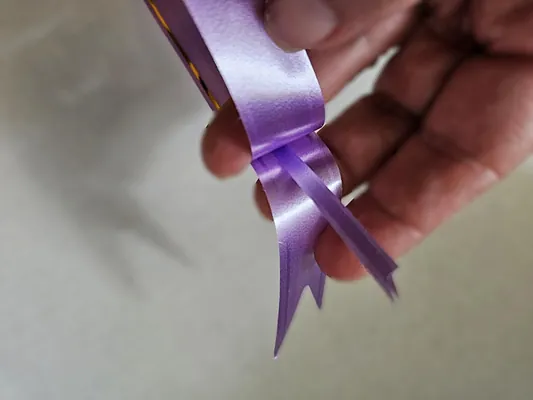
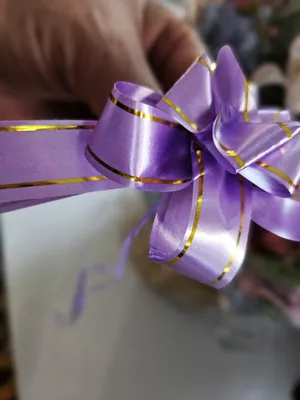
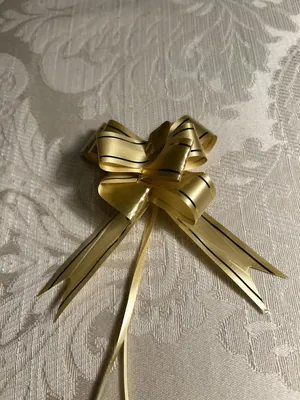
For a pull bow, find the narrow inner ribbons and follow that bow’s instructions, pulling gently while the wider ribbon forms its loops. Pulling the decorative outer strip can tear it apart. Several customers of the mixed-size set below said instructions were missing from the package, although they could find them in the listing. Save the directions and practice one bow before wrapping a whole event’s gifts.
The set is currently listed with 75 bags across five sizes, but 60 are the two smallest sizes. Only five each are listed in the three larger sizes. It also lists 75 pull bows. That mix can suit assorted gifts; it will not give you 75 large basket bags. Much of the feedback describes an older single-size assortment, so use the current breakdown when planning quantities.
Keep ordinary clear bags separate from shrink wrapping
A gathered clear bag does not need heat. Do not assume that a product called “cellophane” will shrink: several listings here describe polypropylene or OPP, and a customer specifically noted that the ordinary basket bags were not shrinkable. For a simple home gift, a neatly tied bag is a complete finish.
The 24-by-30-inch bags below are specifically listed as PVC shrink bags, in a pack of 20 without ribbon. They are an option only when you want a shrink-film project and have the current manufacturer’s instructions for that exact material. The listing warns against heating PVC in a confined space but does not supply complete heat settings or food-contact guidance in the provided details. Do not improvise a heat setting or treat customer hair-dryer stories as instructions.
If you cannot confirm the instructions or the contents would not suit the process, choose an ordinary gathered bag instead. Neither shrink film nor a clear outer bag replaces the individual protection a fragile object needs in transit.
Keep food packaging and delivery protection separate from decoration
For a food gift, keep packaged foods in their original packaging or use inner containers intended for that food. “Clear” and “cellophane” describe appearance or a product category; they do not establish suitability for direct food contact, hot food, or a particular storage method. The FDA’s consumer explanation of food-contact materials explains why intended use matters. A decorative outer bag should not become a reason to change the food’s storage instructions.
Do not infer a shelf life from a customer’s cookie story or a claim about moisture resistance. Follow the food’s own storage directions and choose a gift that can reach the recipient under those conditions. Keep strongly scented nonfood items separately packaged so the arrangement remains pleasant to open.
Carry the basket, not the gathered film
Support the base with both hands when you lift it. For a car trip, set it in a snug open box with padding around the container to limit sliding, and keep it upright. Recheck the contents when you arrive. A clear bag is a presentation layer, not a shipping carton or a carrying handle.
For a group event, finish and carry one sample before preparing the rest. Confirm quantities, set out spare bags and ribbon, and keep completed gifts where they will not be crushed. The cleanest-looking wrap usually comes from getting the shape and support right first; the bow is the last small step.