
In this article
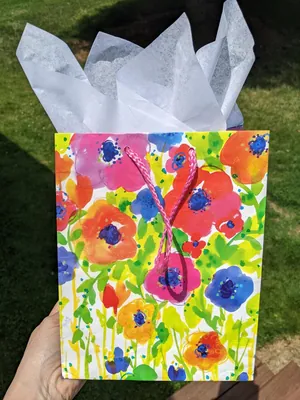
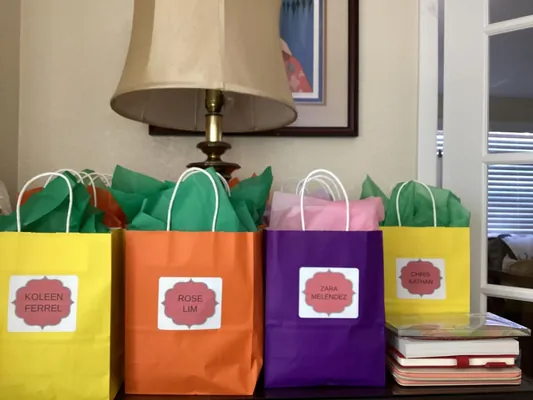
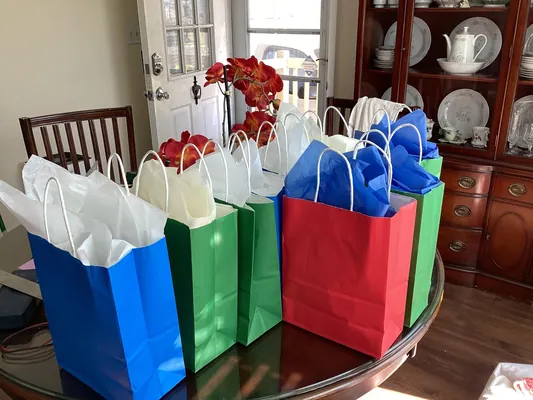
Put the gift in the bag first, then pinch a tissue sheet near the center and tuck the point beside the gift, leaving its corners above the rim. Add a second loose fan only where needed. Match the sheet to the bag’s opening and keep the handles clear.
Tissue paper looks fuller when you separate a few loose fans instead of packing the bag with crumpled sheets. Put the gift in first, give it any protection it actually needs, and then add tissue around the top. The finishing paper can hide the contents and add color without carrying the weight of the gift.
Before using more paper, check the proportions. A small sheet pushed to the bottom of a tall bag will disappear; a giant sheet forced into a tiny bag will bunch up. Start with the bag and gift you have, then adjust the sheet size, amount, and placement until the top looks balanced.
How do you put tissue paper in a gift bag?
Open the bag fully and make sure the base sits flat. Place the gift in a stable position, with heavier items low and upright containers closed. Wrap the item separately if you want to hide its outline. For something breakable, use suitable protective packaging first rather than relying on decorative tissue alone.
Lay one sheet flat. Pinch it gently near the center and lift it so the corners fall into a loose fan. Give the pinched point a small twist if needed, then tuck that point beside the gift. Leave the open corners above the rim. Add another fan on the opposite side, turning it so its corners fill a different gap. Stop and look at the whole bag before adding another.
- Start with one or two sheets for a small bag, then add only what the opening needs.
- Keep the pinched center low enough to stay put and the corners high enough to show.
- Use separate fans around an awkward shape instead of forcing one sheet across everything.
- Leave the handles free so the recipient can lift the bag without crushing the top.
Plain white tissue is useful for learning the shape because the folds are easy to see. The bulk white pack below lists 1,000 sheets at 15 by 20 inches. Customers liked having a large supply, but some found the sheets thinner or smaller than expected and needed extra layers. Feedback also includes colored versions, so those color comments do not establish anything about this white pack.
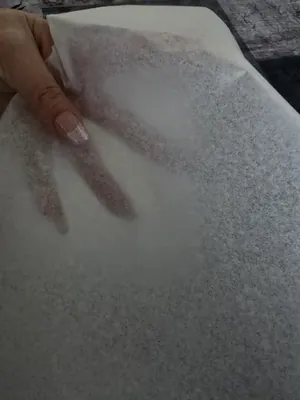
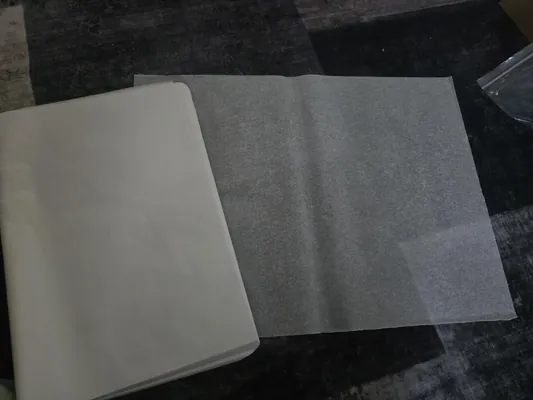
Match the sheet to the opening instead of the pack count
Open a sheet beside the bag before committing to a whole batch. Its center needs somewhere to tuck while its corners reach the rim. You can fold or trim a sheet for a little favor bag, but smaller paper cannot become one wide uninterrupted cover for a large gift. Use overlapping pieces where that looks tidy, or choose a larger sheet.
The larger rainbow pack below lists 150 sheets at 20 by 26 inches in 30 colors. Customers liked the generous size and range, while one found it easy to tear. Feedback also covers holiday and single-color packs with different quantities. Check the selected assortment rather than expecting every color or count mentioned in the feedback to arrive together.
A square sheet makes a different fan
Square tissue is easy to rotate when you want evenly spaced points around the opening. The classic-color pack below lists 120 sheets at 20 by 20 inches, with 15 of each of eight colors. Much of the supplied feedback describes a pastel version, so use the current listing to identify the classic palette. Customers generally liked the handling and color, but a photo of pastel bags is an example of a different assortment.
For small pouches, jewelry boxes, or short favor bags, the smaller pack below lists 330 sheets at 14 by 10 inches. Repeated feedback notes that these are smaller than expected, though customers liked them for little gifts and crafts. The larger sheet count does not mean more coverage per sheet. Try one in your actual bag before preparing dozens of favors.
Make the colors look intentional with one simple decision
Pick one main color from the bag or tag, then add a neutral or one accent. You do not have to use every available shade. Offset the layers slightly before pinching them so both colors remain visible, and rotate successive fans rather than making a solid stack of identical corners.
For a muted look, the earth-tone set below lists 100 sheets at 20 by 14 inches: 20 each in forest green, sage, beige, ivory, and muted mustard gold. Earth-tone-specific feedback liked the unusual palette, while other accounts describe unrelated pink, blue, or metallic versions. Customers also noted thinness and wrinkles. The current matte colors should not be assumed opaque from the product image alone.
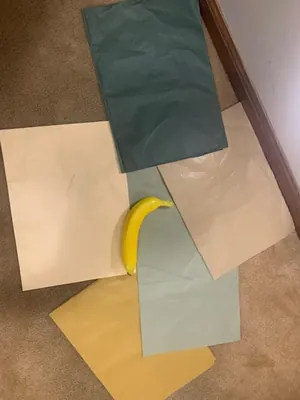
Keep a flexible assortment for different occasions
If you wrap gifts throughout the year, several colors can be useful, provided you have space to keep the sheets flat. The 200-sheet pack below lists 20 colors at 14 by 20 inches, ten per color. Feedback ranges from easy handling to very thin sheets that tear during separation. One quantity complaint concerns a different 1,000-sheet version, so it does not establish the count of this pack. Count the colors needed for your own project when it arrives.
A single-color pack makes sense when you are repeating the same look. The navy pack below lists 160 sheets at 14 by 20 inches. Most supplied color-specific feedback concerns red, gold, green, and pink versions, rather than navy. Check the current shade in person before matching it to invitations or ribbon; product photos and lighting can make similar-looking colors differ.
Use a metallic or print as an accent
A patterned sheet can give a plain bag enough interest on its own. Put its most attractive side where it can be seen, then use a plain sheet beneath it if you need more coverage. A few visible corners often show the pattern better than a tightly packed ball of paper.
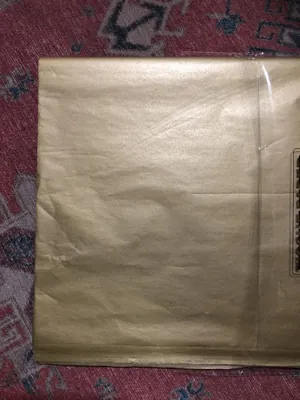
The gold pack below lists 100 sheets at 14 by 20 inches. Customers differed on the finish: some liked the soft shimmer, while others saw a duller greenish or brownish gold instead of a bright metallic color. Feedback also includes other colors, and one customer reported a strong odor and an oily stain. Inspect the sheets before they touch a gift. A picture of a bright gold roll does not settle how the delivered tissue will look under room light.
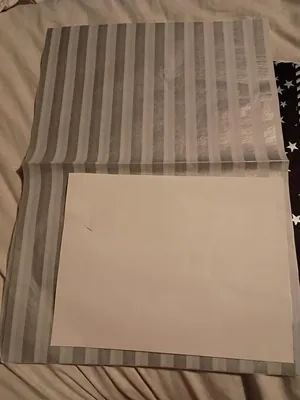
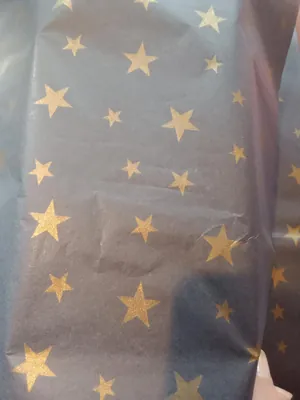
For a mix of patterns, the white-and-gold pack below lists 100 sheets at about 14 by 20 inches in five designs, including dots, stars, stripes, and a twill-style pattern. Customers liked the decorative effect but still described some transparency. Feedback also includes darker and rose-gold assortments, so check the current pack’s designs. Fold one sheet the way you plan to use it before deciding how many visible layers you need.
Why does the tissue keep falling into the bag?
Check where the pinched point is resting. If it drops all the way to the bottom, tuck it into the space beside the gift instead. If there is a deep empty gap, choose a bag closer to the gift’s size or use appropriate support beneath the gift. Do not disguise an unstable, heavy load with more paper.
If the top looks flat, loosen the fans and separate the corners with dry fingertips. Rotate one fan or add a single accent sheet to an empty area. If it looks crowded, remove a sheet before doing anything else. The goal is an opening the recipient can reach into, not a dense plug they have to pull apart.
Handle tears and creases without starting over
Lift a sheet from the edge slowly and support it while separating it from the stack. If a corner tears, turn that corner inward or save the piece for a smaller bag. A crease can disappear into a fan; a smooth flat wrap is less forgiving. Use your palm to gently flatten a reusable sheet on a clean, dry surface instead of tugging it tight.
Brown tissue can suit a plain bag when you want a quieter finish. The pack below lists 120 sheets at 20 by 14 inches. Feedback includes rosy pink and rainbow versions as well as brown, so only the brown-specific comments apply to this color. One described it as thinner than expected. Treat it as lightweight tissue rather than the stiff kraft paper used to make a bag.
Keep decoration separate from protection
Tissue can hide an item’s shape or keep small pieces visually separate, but it should not be the only protection for glass or a fragile object in transit. Use suitable padding and a properly sized container first. Keep liquids closed, allow wet or freshly painted items to dry, and keep decorative paper away from direct contact with unwrapped food unless it is specifically intended for that use.
Do not treat a gift-paper listing’s “acid-free” wording as documentation for long-term preservation of photographs, antiques, or textiles. One supplied customer account even disputes an acidity claim for a metallic version. If the object needs conservation storage, choose materials specified for that purpose rather than assuming everyday gift tissue is suitable. For an ordinary gift, clean unprinted tissue can serve as a simple inner layer while the colored paper stays outside.
Make repeated gifts easier without overbuying
Finish one sample bag before cutting or separating the whole pack. Count how many sheets of each color it uses, then multiply by the number of bags and allow a few spare sheets for tears. A 100-sheet pack in five colors does not provide 100 sheets of the one accent color you want.
Store leftovers flat in a clean, dry folder, shallow box, or drawer. Keep useful offcuts together for small gifts and avoid crushing new sheets beneath heavy wrapping supplies. Save presentable tissue after gifts are opened, and check local disposal guidance for metallic or coated paper instead of assuming every decorative finish belongs in paper recycling.
Once the gift sits securely, the corners show above the rim, and the handles move freely, you can stop. A tidy bag with a little room to breathe usually needs fewer adjustments than one packed with extra paper.